WALLCOVERING INSTALLATION
From preparation to a beautifully finished wall
A successful installation starts with careful preparation, the right materials and clear instructions.
daisy james seamless wallcoverings are made to the dimensions of your wall and installed as one continuous surface. To support a precise and professional result, we provide clear installation guidance, a step-by-step video and practical advice throughout the process.
Whether your wallcovering is installed by our team or your own professional installer, everything needed for a well-prepared installation is available before work begins.

HOW TO INSTALL SEAMLESS WALLCOVERING
Follow the installation process step by step
Our installation video guides you through the complete process, from preparing the wall and applying the adhesive to positioning and finishing the wallcovering.
We recommend watching the full video before starting the installation and following the steps in the order shown.
INSTALLATION IN 7 STEPS
A clear process for a precise result
Step 1
Start by preparing the wall. Thoroughly clean it to remove any dirt, grease, or debris. Fill in any holes or cracks and sand down any bumps or rough patches. Starting with a smooth and clean surface is crucial to ensure the wallcover adheres properly and imperfections do not show through. If the walls are freshly plastered, apply a suitable primer before proceeding.
Step 2
Remove the wallcover from its packaging. Measure the wall and compare these measurements with those on the leaflet provided with the wallcover. If correct, there will be a few extra centimeters or inches in both the width and height to allow for any mistakes or adjustments.
Step 3
Once the wall is prepared and the measurements are double-checked, you can apply adhesive to the wall. We recommend our DJ GLUE CO 1215 for the best and most durable finish. If you choose to use another glue, please follow the manufacturer’s guidelines. Use a brush and paint roller to spread the adhesive evenly, covering the entire surface of the wall.
Step 4
Apply the wallcover, starting from either the left or right side, depending on obstacles such as doors, windows, or lights. Begin on the easier side, pressing the wallcover into place as you go. Use a smoothing tool or brush to eliminate any air bubbles or wrinkles in the direction you are working. Work carefully and methodically, ensuring the wallcover is perfectly horizontal.
Step 5
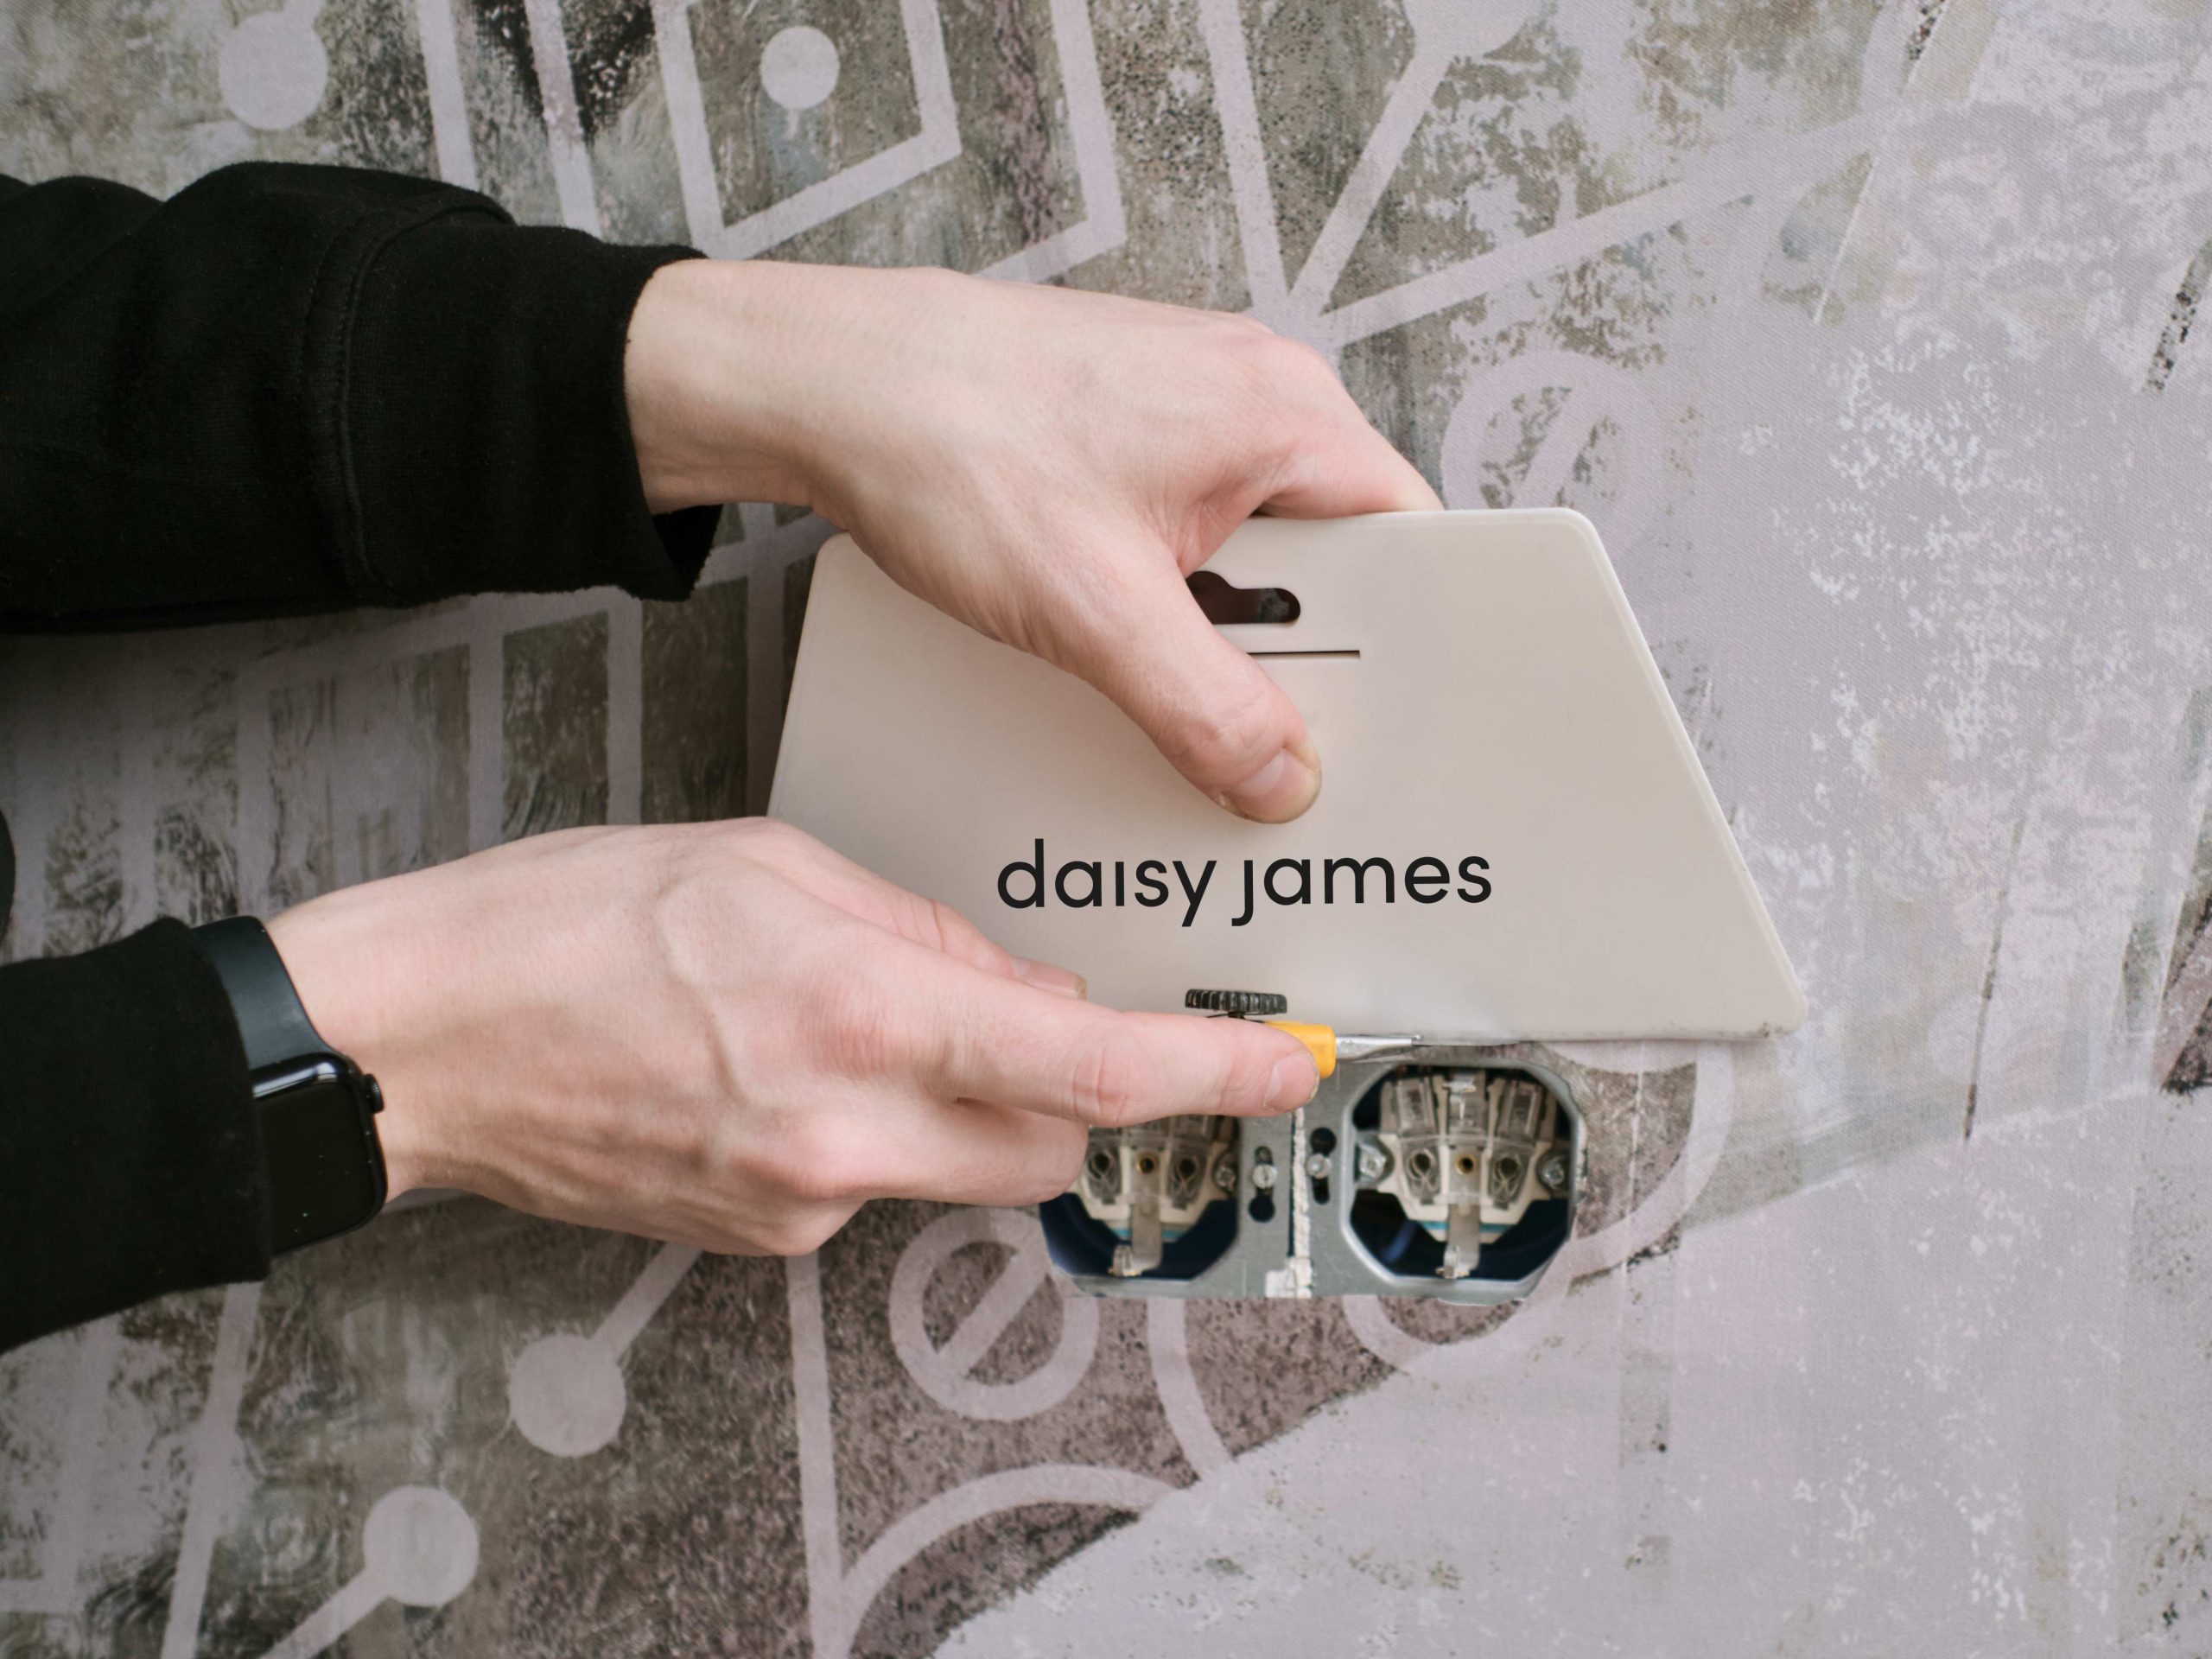
If you encounter any obstacles, such as light switches, outlets, doors, or windows, carefully cut around them with a clean, sharp knife. Take your time and work carefully to ensure a neat finish.
Step 6
Once you’ve applied all of the wallcover, use a sharp knife to trim any excess wallpaper from the edges. Use a smoothing tool or brush to ensure the edges are firmly in place.
Step 7
Finally, step back and admire your hard work. With a seamless and professional-looking finish, your newly decorated wall will be a source of pride and satisfaction. Visit the FAQ for instructions regarding cleaning and maintenance to keep your wallcover looking great for years to come.
HOW TO INSTALL WALLPAPER ON ROLL
A step-by-step guide for a precise installation
daisy james wallpaper on roll can be installed using traditional wallpapering techniques. Careful preparation of the wall, accurate positioning and the correct application method are essential for a clean and consistent result.
Our step-by-step guide takes you through the installation process in six clear stages, from preparing the surface and applying the adhesive to positioning and finishing each length of wallpaper.
Before starting, we recommend reading the complete installation instructions and preparing all required tools and materials.
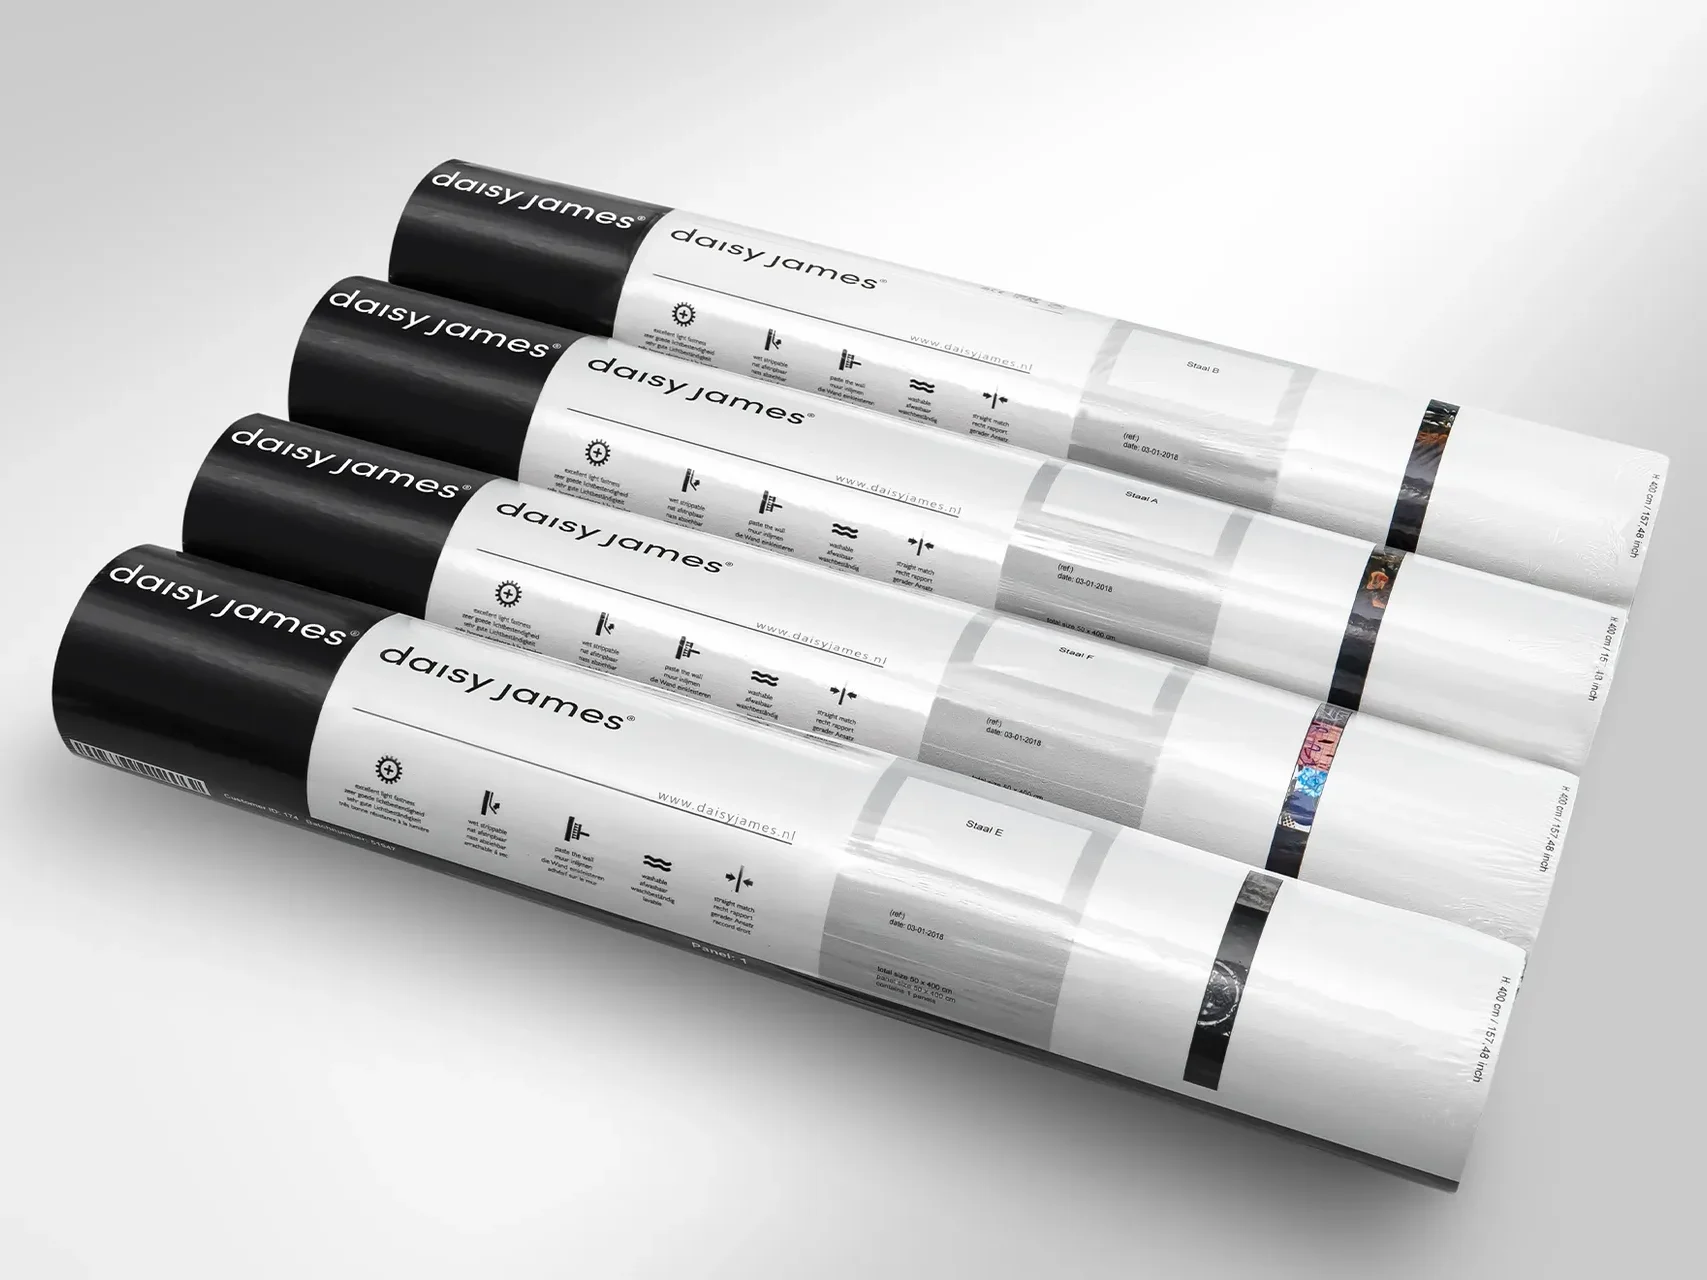
WALLPAPER ON ROLL: 6 INSTALLATION STEPS
Follow the six steps below for the correct preparation and application of your daisy james wallpaper on roll.
Step 1
The first step in installing wallpaper by yourself is to carefully measure and prepare the walls. This includes filling any holes or cracks, sanding the surface, and cleaning it thoroughly to ensure a smooth and even base for the wallpaper to adhere to.
Step 2
Next it will be best to prime the wall.
Step 3
The wallpaper will be produced with a small amount of overlap on the right, left and at the top and bottom of the wall. It’s important to measure carefully and use a straight edge or ruler to ensure that your cuts are precise and even.
Step 4
Once everything is set it’s time to apply the adhesive. This can be done with a brush and roller, and it’s important to apply the adhesive evenly to avoid any lumps or bumps in the wallpaper.
Step 5
Then, it’s time to hang the wallpaper. This requires patience and attention to detail, as each strip must be aligned correctly and smoothed out to avoid any wrinkles or bubbles.
Step 6
As you work your way across the wall, it’s important to trim the excess wallcover at the edges of the wall, using a sharp utility knife and a straight edge for a clean and precise finish. You can always ask our advice about the best kind of glue and the tools you need to use.
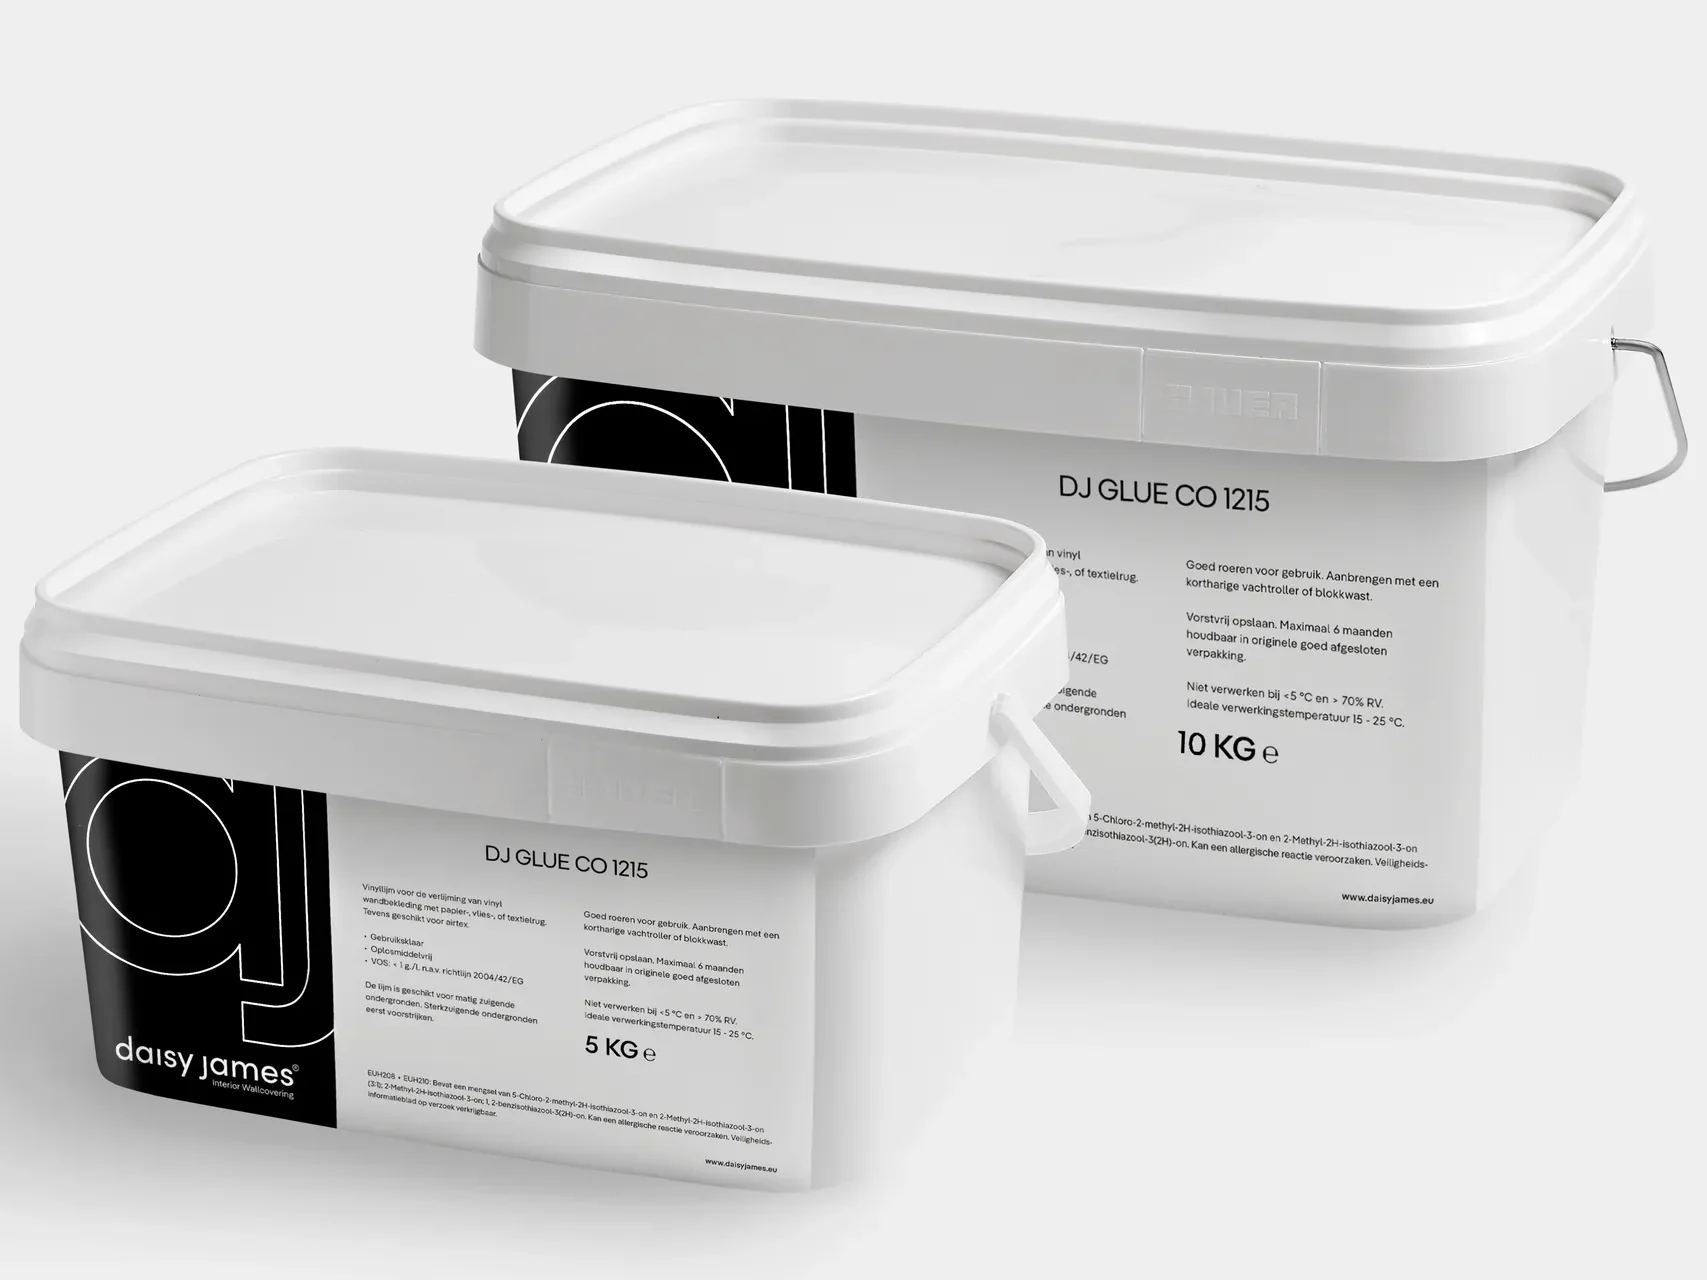
DJ GLUE CO 1215
Developed for daisy james seamless wallcoverings
For a reliable and durable installation, daisy james recommends DJ GLUE CO 1215, our specially developed adhesive for seamless wallcoverings.
The adhesive provides strong, even bonding and is formulated to work with our wallcovering materials. Its smooth application and low-odour formula make it suitable for both residential and professional projects.
DJ GLUE CO 1215 is available in 5 kg and 10 kg containers, allowing the quantity to be matched to the size of your project.
When requesting a quotation, you can simply indicate that you would like to include the recommended adhesive.
FREQUENTLY ASKED QUESTIONS
IS DJ GLUE CO 1215 SUITABLE FOR ALL DAISY JAMES SEAMLESS WALLCOVERINGS?
Yes. DJ GLUE CO 1215 has been developed for use with our seamless wallcoverings. For the best result, always follow the installation instructions supplied with your wallcovering.
CAN MY OWN INSTALLER USE DJ GLUE CO 1215?
Yes. Your installer can work with DJ GLUE CO 1215 using our application instructions. Installation guidance is also available when additional support is required.
PROFESSIONAL INSTALLATION & SUPPORT
Prefer to leave the installation to a professional?
In the Netherlands, Belgium and Germany, our experienced installation team can install your daisy james wallcovering on site.
Working with your own installer? We provide the installation instructions, technical information and guidance needed to prepare and complete the installation correctly.
For project-specific questions about the wall, material or application, our team is available to advise before installation begins.
FREQUENTLY ASKED QUESTIONS
CAN I INSTALL DAISY JAMES SEAMLESS WALLCOVERING MYSELF?
Installation is possible when the instructions are followed carefully, although for larger or more complex walls we recommend working with an experienced wallcovering installer.
HOW SHOULD THE WALL BE PREPARED BEFORE INSTALLATION?
The surface should be clean, dry, smooth and properly prepared before installation. Always follow the preparation requirements in the installation instructions supplied with your wallcovering.
WHICH ADHESIVE SHOULD I USE?
For our seamless wallcoverings, we recommend DJ GLUE CO 1215, specially developed for use with daisy james wallcovering materials.
DOES DAISY JAMES OFFER PROFESSIONAL INSTALLATION?
Yes. Professional installation is available for projects in the Netherlands, Belgium and Germany. Contact our team to discuss availability for your project.
CAN MY OWN INSTALLER INSTALL THE WALLCOVERING?
Yes. We provide clear installation instructions and a detailed installation video that can be shared with your installer before work begins.
WHERE CAN I FIND THE INSTALLATION INSTRUCTIONS?
The surface should be clean, dry, smooth and properly prepared before installation. Always follow the preparation requirements in the installation instructions supplied with your wallcovering.
WHICH ADHESIVE SHOULD I USE?
Installation guidance is provided with your wallcovering and is also available through our installation resources. For project-specific questions, our team is happy to assist.